
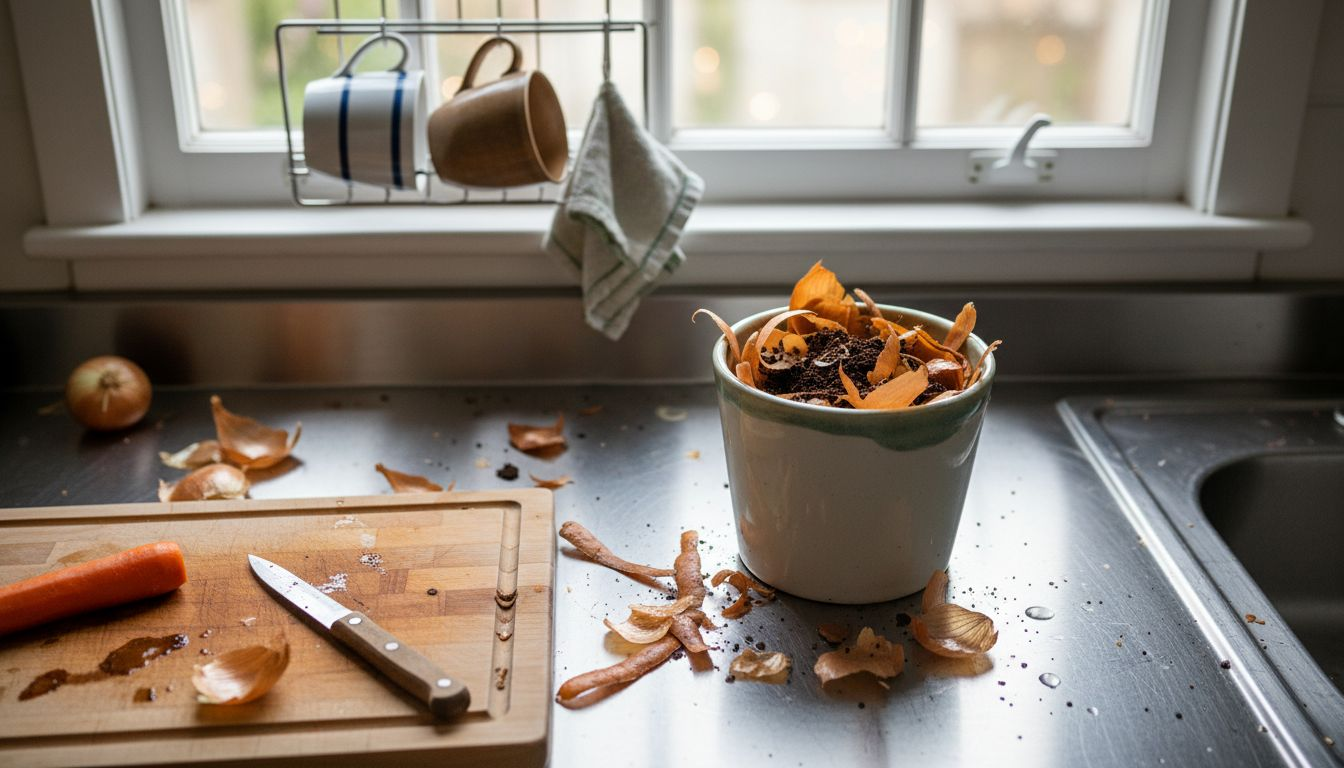
Nearly one third of all kitchen waste in Delhi NCR ends up in landfill, yet British expats and local families are discovering that composting offers a practical way to cut daily rubbish. For health-conscious residents, finding eco-friendly solutions is more than a trend—it is a conscious effort to support greener urban living while nurturing a family-friendly environment. This guide shows simple steps for setting up and maintaining a compost heap, making it easier to turn kitchen scraps into valuable garden soil.
Table of Contents
- Step 1: Select An Optimal Composting Location
- Step 2: Prepare Kitchen Scraps And Essential Materials
- Step 3: Layer Scraps And Balance Green And Brown Waste
- Step 4: Maintain Moisture And Aerate The Compost Heap
- Step 5: Monitor Decomposition And Verify Compost Quality
Quick Summary
| Key Point | Explanation |
|---|---|
| 1. Choose the Right Location | Select a compost spot with partial shade, good drainage, and proximity to your kitchen for easy access. |
| 2. Prepare Kitchen Scraps Effectively | Collect nitrogen-rich greens and balance with carbon-rich browns, maintaining a 3:1 ratio for optimal decomposition. |
| 3. Layer for Balanced Decomposition | Alternate layers of green and brown materials, with each layer 10-15 cm thick, to support airflow and microbial activity. |
| 4. Manage Moisture and Aeration | Ensure your compost feels like a wrung-out sponge and aerate it every few weeks to accelerate decomposition. |
| 5. Monitor Compost Quality Regularly | Observe temperature, texture, and aroma; conduct a germination test to verify if compost is ready for use. |
Step 1: Select an Optimal Composting Location
Choosing the right spot for your compost heap is more than just finding an empty space in your garden. Your location will determine how quickly and effectively kitchen scraps transform into rich, nutrient-dense soil for your plants.
Start by identifying a location that offers partial shade and good drainage. You want an area that stays relatively cool but receives some sunlight. This helps prevent your compost from drying out or becoming waterlogged. Think of a spot near your kitchen garden or close to a water source for convenient access and moisture management. The ground should be flat and slightly elevated to ensure proper water drainage.
Ideal locations typically have enough space for a compact heap that is no wider or taller than 1 to 1.5 metres. Consider proximity to your kitchen for easy scrap disposal and close enough to a water source to maintain optimal moisture levels. Avoid placing your compost directly against wooden structures or fences to prevent potential moisture damage.
Top tip: Choose a location where you can easily monitor and turn your compost without disrupting other garden activities.
Step 2: Prepare Kitchen Scraps and Essential Materials
Transforming your kitchen waste into nutrient-rich compost requires careful preparation and thoughtful material selection. Your goal is to create an optimal environment for decomposition that turns everyday food scraps into garden gold.
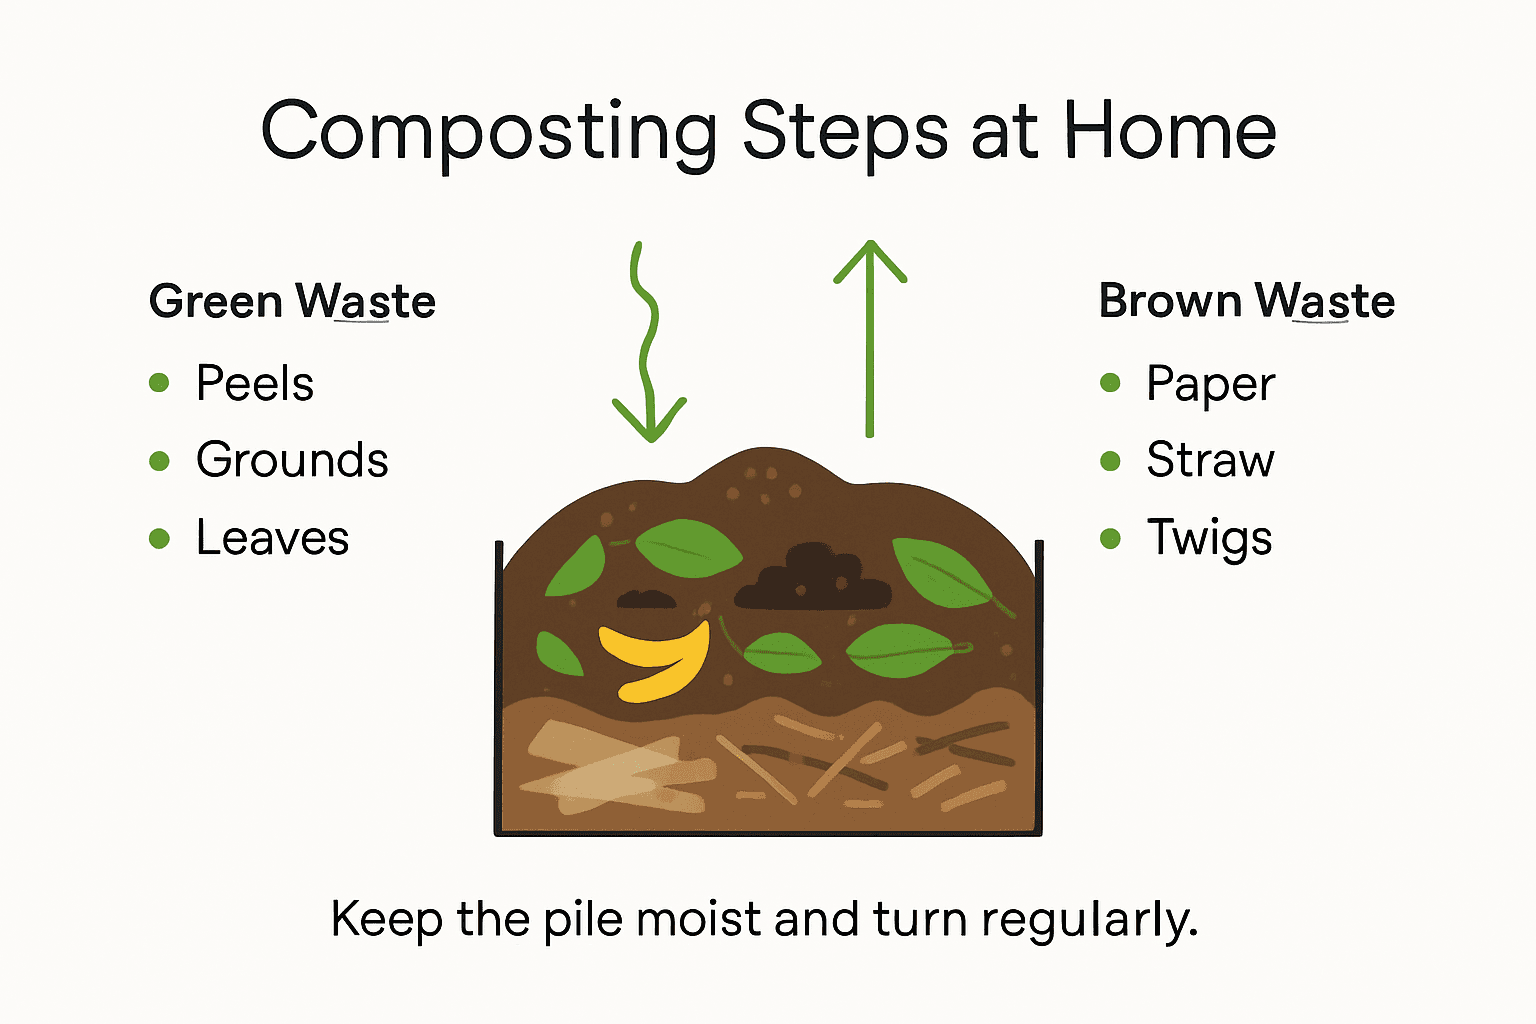
Begin by gathering nitrogen-rich kitchen scraps such as fruit and vegetable peels, coffee grounds, tea bags without staples, and crushed eggshells. These ‘green’ materials provide essential nutrients for microbial activity. Chop or shred larger items into smaller pieces to accelerate decomposition and increase surface area for microbes to work effectively. Remember to keep a dedicated container in your kitchen for collecting these materials separate from general waste.
You’ll also need carbon-rich ‘brown’ materials to balance your compost. These include dry leaves, shredded paper, straw, and wood chips. The ideal ratio is roughly three parts brown to one part green materials. Crucially, avoid adding meat, dairy, oils, or greasy foods which can attract pests and create unpleasant odours. Store your brown materials in a dry, accessible location near your compost heap for easy mixing.
Here’s a compact overview of common compostable and non-compostable kitchen materials:
| Material Type | Compostable Examples | Not Suitable for Compost Bin |
|---|---|---|
| Fruit & Veg Waste | Apple cores, carrot peelings | Citrus peels, large pits |
| Dry Ingredients | Tea bags (no staples), coffee grounds | Coffee pods, glossy paper |
| Protein-Based | Crushed eggshells | Meat, fish, dairy items |
| Processed Foods | Stale bread, rice | Oils, greasy foods, baked goods |
Expert suggestion: Keep a small kitchen caddy with a tight lid to collect scraps hygienically and prevent fruit flies from becoming unwelcome visitors.
Step 3: Layer Scraps and Balance Green and Brown Waste
Creating successful compost is an art of balance where your layering technique plays a crucial role in transforming kitchen and garden waste into nutrient-rich soil amendment. Think of your compost pile as a living ecosystem that requires careful management.
Carbon-to-nitrogen ratio management is the secret to a thriving compost heap. Start by creating alternating layers of green and brown materials. Your green materials nitrogen-rich ingredients like fresh kitchen scraps provide protein for microbes, while brown materials such as dried leaves and shredded paper offer the carbon necessary for energy. Aim for a ratio of approximately three parts brown to one part green materials to maintain optimal decomposition conditions.
Begin your layering process with a base of coarser brown materials like twigs or straw to promote air circulation. Add your green kitchen scraps in thin, even layers, then cover immediately with a layer of brown materials. This method helps control moisture, prevents odours, and creates an environment that encourages beneficial microorganisms to break down organic matter efficiently. Each layer should be roughly 10 to 15 centimetres thick to ensure proper decomposition.
Expert suggestion: Keep a small garden fork nearby to gently mix layers occasionally, ensuring even decomposition and preventing compaction.
Step 4: Maintain Moisture and Aerate the Compost Heap
Transforming kitchen scraps into rich, fertile compost requires more than just tossing materials together. Think of your compost heap as a living, breathing ecosystem that demands careful attention to moisture and oxygen levels.
Proper moisture management is crucial for successful composting. Your heap should feel like a wrung-out sponge moist but not dripping wet. When you squeeze a handful of compost materials, it should hold together without water dripping out. If it feels too dry, sprinkle water gently. If it appears waterlogged, add more dry brown materials like leaves or shredded paper to absorb excess moisture. The goal is creating an environment where beneficial microorganisms can thrive and break down organic matter efficiently.
Aeration is equally important for maintaining a healthy compost heap. Every few weeks, use a garden fork to turn your compost, introducing fresh oxygen that accelerates decomposition. Create small air channels by occasionally inserting dry grass or bamboo poles vertically through the heap. This prevents compaction and ensures that aerobic microbes have the oxygen they need to transform your kitchen scraps into nutrient-rich soil amendment. Watch for temperature changes a warm heap indicates active microbial decomposition.
Expert suggestion: Cover your compost heap with a breathable material like hessian to retain moisture while allowing essential gas exchange.
Step 5: Monitor Decomposition and Verify Compost Quality
Successful composting requires more than simply mixing kitchen scraps and waiting. You need to become a keen observer of your compost heap’s transformation, tracking its progress from raw organic waste to nutrient-rich soil amendment.
Monitoring compost characteristics involves examining multiple indicators of decomposition progress. Temperature is your first key signal your compost should feel warm to the touch, indicating active microbial breakdown. A mature compost heap will gradually cool down as decomposition nears completion. Observe the physical changes too the materials should progressively break down, becoming darker, crumblier, and developing a rich, earthy aroma. If your compost smells foul or remains unchanged after several weeks, something in your process needs adjustment.
To verify your compost is ready for use, conduct a simple seed germination test. Collect a small sample and sprinkle cress or radish seeds on its surface. Healthy, mature compost will support robust seed germination without showing any signs of toxicity. The final product should resemble dark, crumbly soil with no recognisable original food scraps. Its texture should be loose and earthy, with a pleasant woodland floor fragrance that indicates complete decomposition.
This table highlights how to identify quality compost versus compost that needs more time:
| Indicator | Mature Compost | Unfinished Compost |
|---|---|---|
| Colour | Dark brown, almost black | Light brown or patchy |
| Texture | Crumbly and loose | Sticky or dense |
| Smell | Earthy, woodland aroma | Sour, ammonia-like odour |
| Seed Germination Test | Supports healthy growth | Poor or no seedling growth |
Expert suggestion: Keep a compost journal to track temperature changes, layering techniques, and decomposition progress for continuous improvement.
Transform Your Kitchen Scraps into Garden Gold with Nature’s Soul
Composting kitchen scraps into rich organic soil is a rewarding but delicate process. It demands the right balance of green and brown materials, careful moisture management, and patience to monitor decomposition fully. If you find managing your compost heap challenging or want to complement your gardening efforts with clean, natural products that nourish both you and your plants, we’ve got you covered. At Nature’s Soul, we understand your goal to create a sustainable, thriving garden ecosystem while using wholesome organic ingredients in every aspect of your life.

Start your journey to wellness and sustainable living today by exploring our carefully curated selection of organic fruits, vegetables, home care, and skin care products. They align perfectly with your composting commitment, offering purity and quality you can trust. Visit Nature’s Soul Shop and discover how easy it is to harmonise your earth-friendly lifestyle. Let us support you in turning kitchen scraps into nourishing soil and your home into a sanctuary of clean living. Act now and embrace the natural way to wellness at https://naturessoulshop.com.
Frequently Asked Questions
What is the best location for composting kitchen scraps at home?
Choosing a location that offers partial shade and good drainage is essential. Aim for a flat, elevated area that is easily accessible from your kitchen and a nearby water source, ensuring the compost heap does not exceed 1 to 1.5 metres in width or height.
How do I prepare kitchen scraps for composting?
Start by collecting nitrogen-rich kitchen scraps, such as fruit and vegetable peels, coffee grounds, and crushed eggshells. Chop or shred larger items into smaller pieces and balance these with carbon-rich materials like dry leaves and shredded paper in a ratio of about three parts brown to one part green.
How do I layer my compost heap properly?
Create alternating layers of green and brown materials to maintain the right carbon-to-nitrogen ratio. Begin with coarse brown materials at the base, followed by your kitchen scraps, and cover each layer with brown materials, ensuring each layer is about 10 to 15 centimetres thick to promote effective decomposition.
How can I ensure my compost heap stays moist and aerated?
Your compost should feel like a wrung-out sponge—moist but not dripping. Turn the heap with a garden fork every few weeks to introduce oxygen, and use dry brown materials to manage moisture levels if the heap becomes too wet.
How can I tell when my compost is ready to use?
Mature compost will be dark, crumbly, and have an earthy aroma, indicating complete decomposition. Conduct a seed germination test by sprinkling seeds on a sample; robust growth suggests your compost is ready, while any unpleasant odours or poor germination indicate it needs more time.
What materials should I avoid adding to my compost heap?
Avoid adding meat, dairy, oils, and greasy foods, as these can attract pests and create foul odours. Stick to plant-based scraps and carbon-rich materials to ensure a healthy composting process.


